
DOWNLOAD THE APP


Customer Services
Copyright © 2025 Desertcart Holdings Limited
DOWNLOAD THE APP

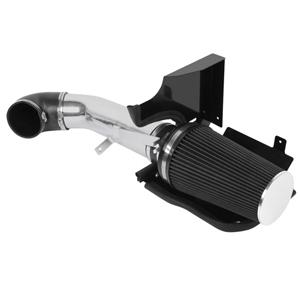
MOOSUN 4 inch Cold Air Intake Black Tube + Heat Shield for 1999-2006 GMC/Chevy V8 4.8L/5.3L/6.0L Silverado 1500/2500/3500 Black : desertcart.in: Car & Motorbike


| ASIN | B082VH33Y4 |
| Brand | MOOSUN |
| Country of Origin | Hong Kong |
| Customer Reviews | 4.3 4.3 out of 5 stars (1,320) |
| Date First Available | 19 January 2020 |
| Item Dimensions LxWxH | 38 x 28 x 15 Centimeters |
| Item Weight | 3 kg 580 g |
| Item model number | MS-99-06-BB |
| Manufacturer | MOOSUN |
| Manufacturer Part Number | MS-99-06-BB |
| Material | Alloy Steel |
| Net Quantity | 1.0 Count |
| OEM Part Number | MS-99-06-BB |
| Product Dimensions | 38 x 28 x 15 cm; 3.58 kg |
Trustpilot
5 days ago
4 days ago
2 weeks ago
2 weeks ago