
DOWNLOAD THE APP


Customer Services
Copyright © 2025 Desertcart Holdings Limited
DOWNLOAD THE APP


♻️ Turn waste into wonder—compost smarter, not harder!
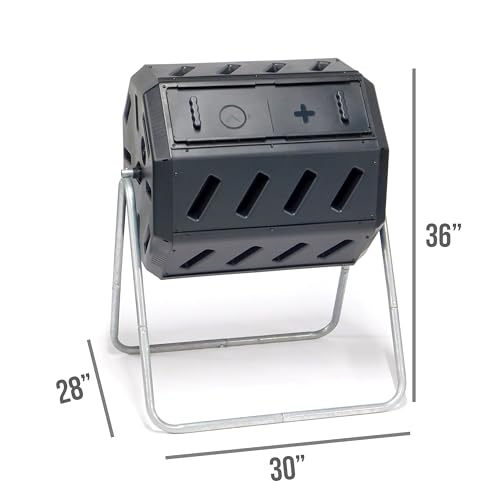
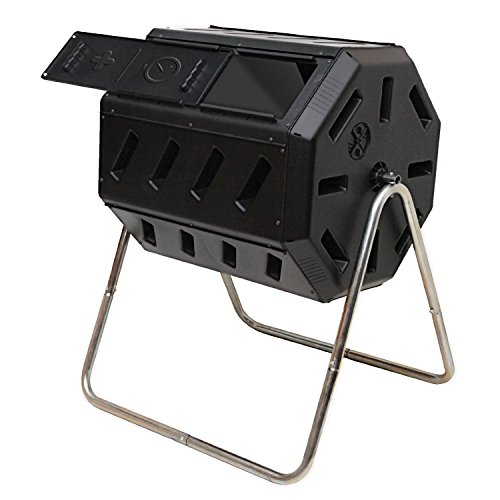
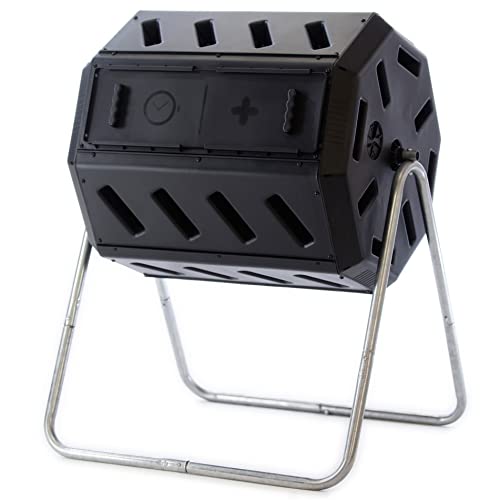
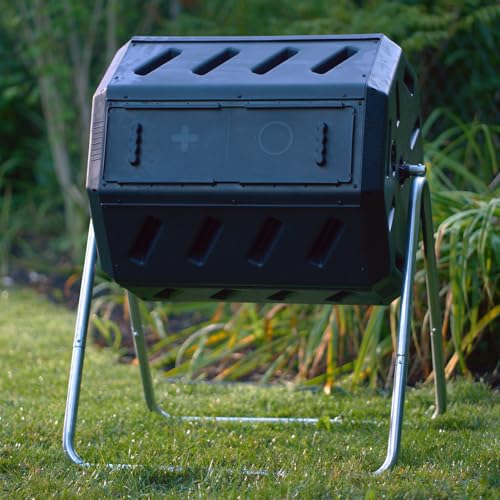
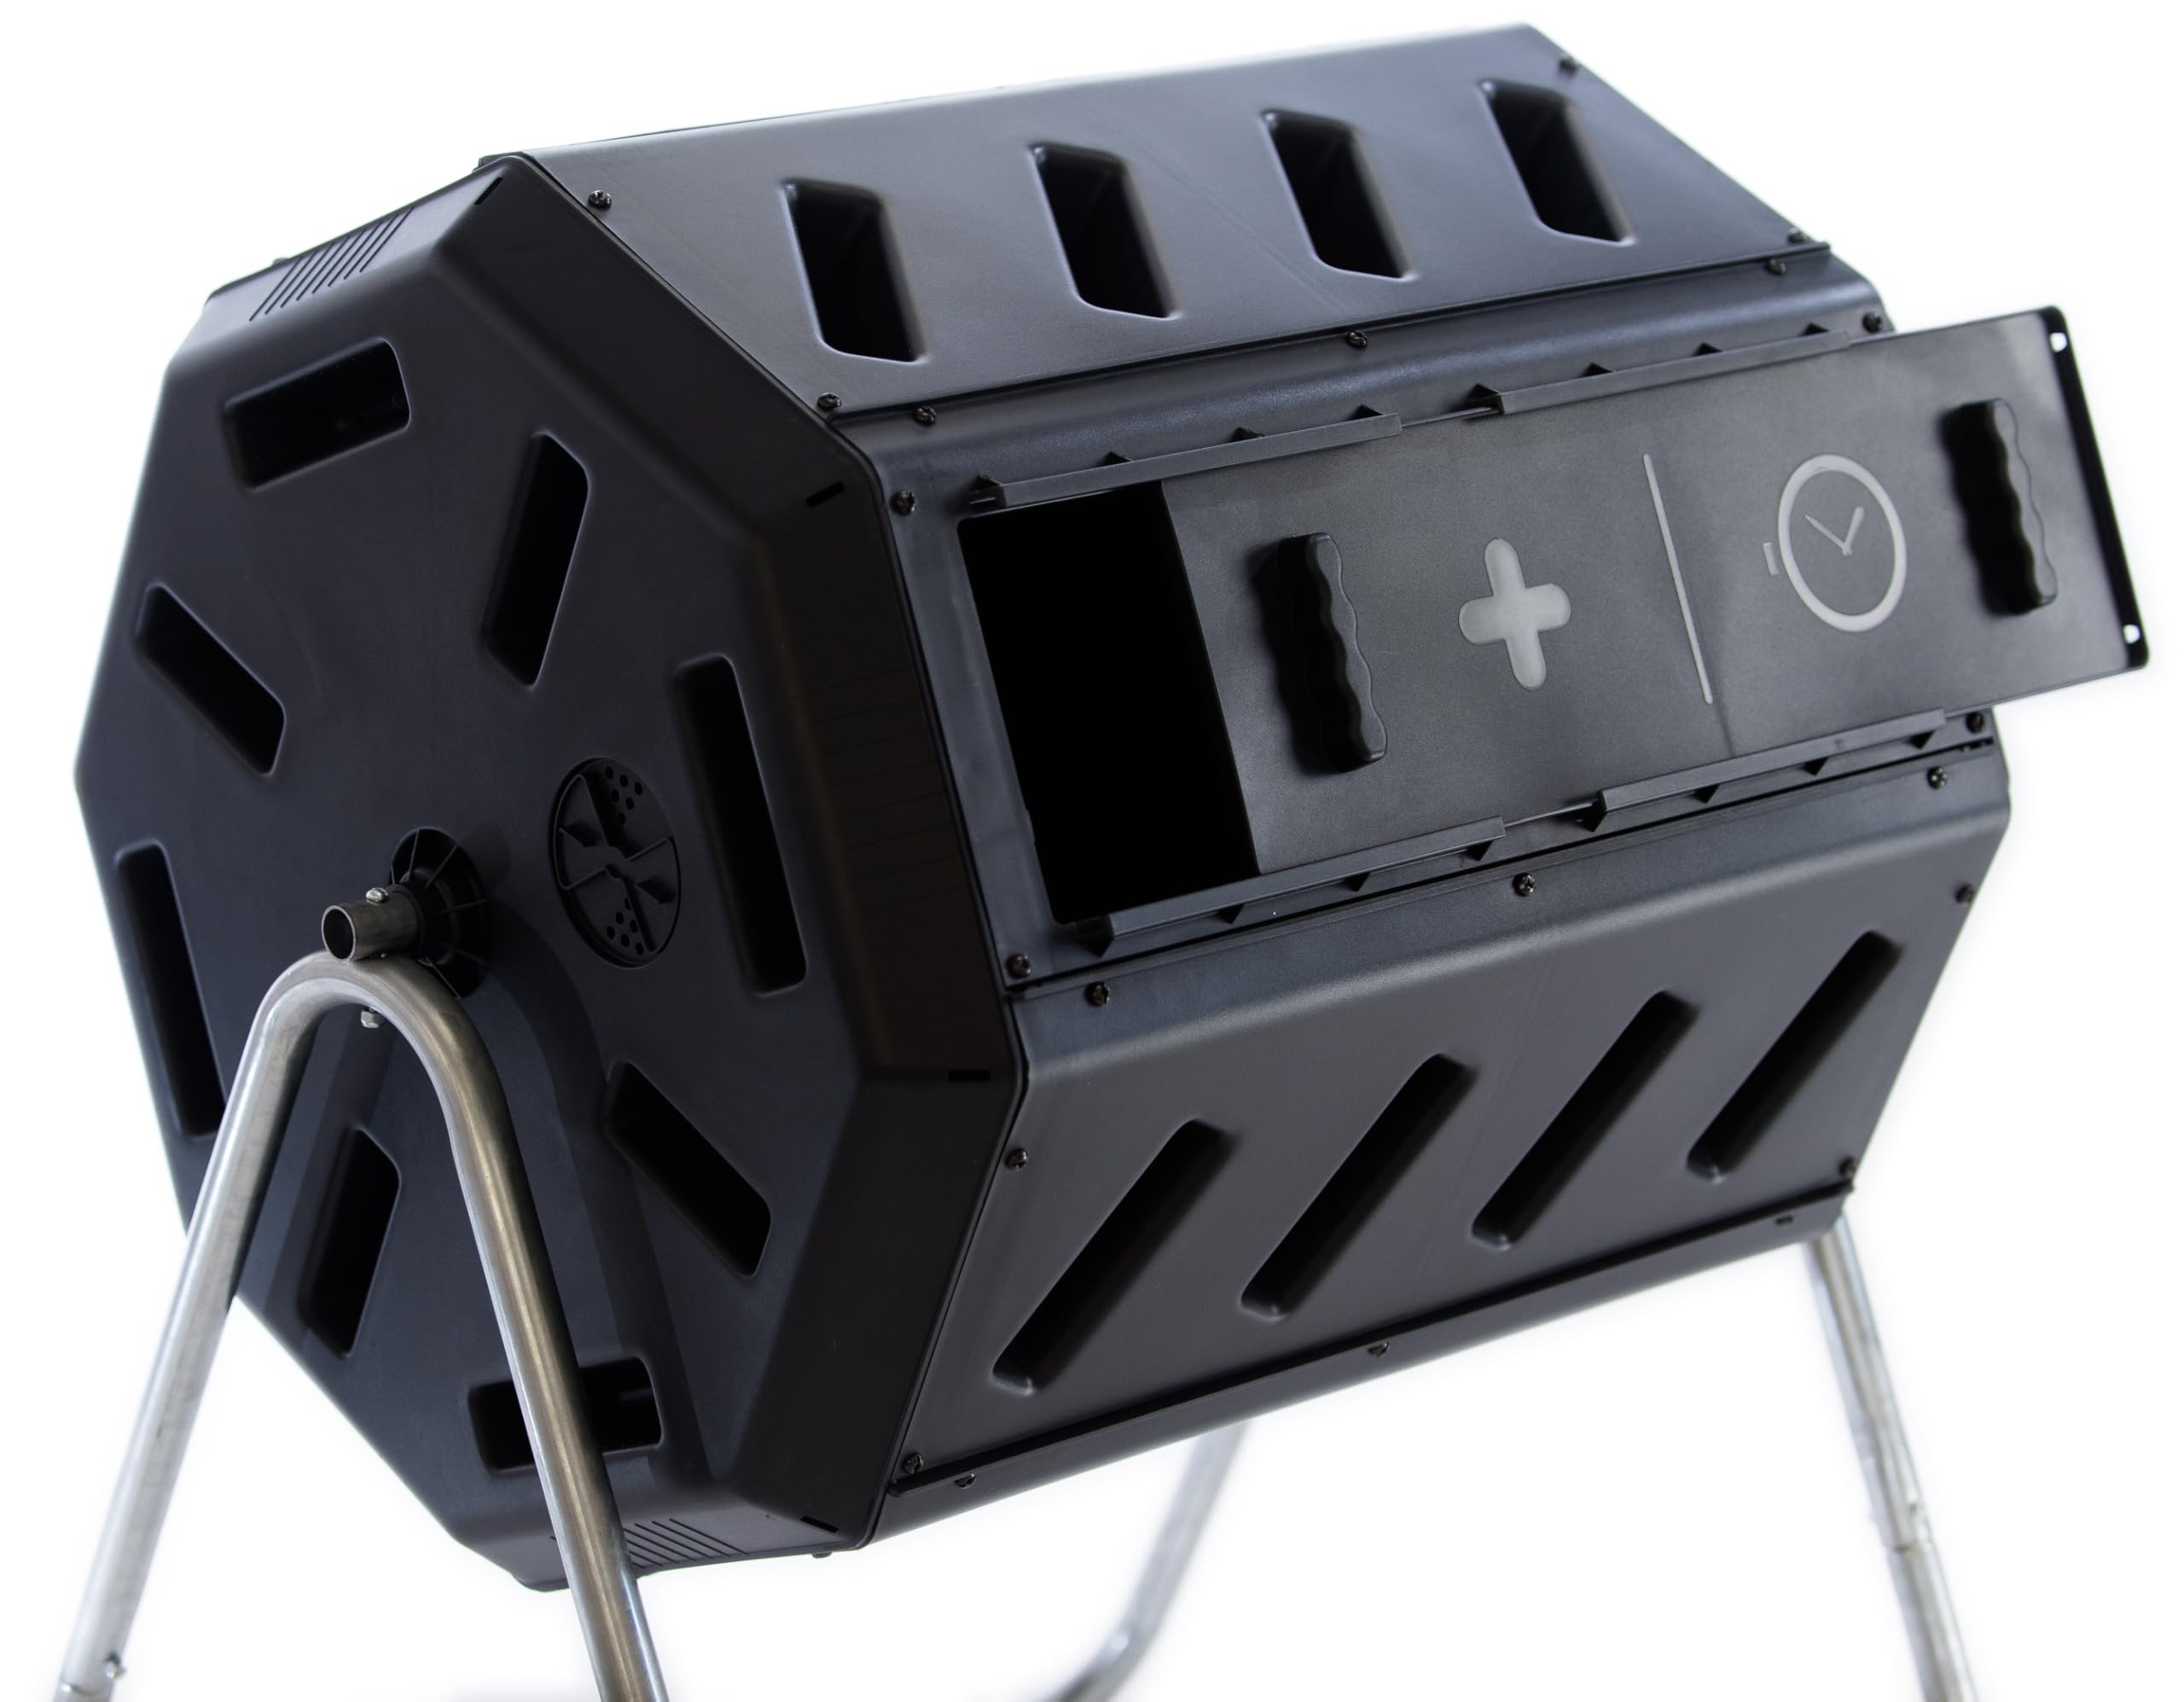
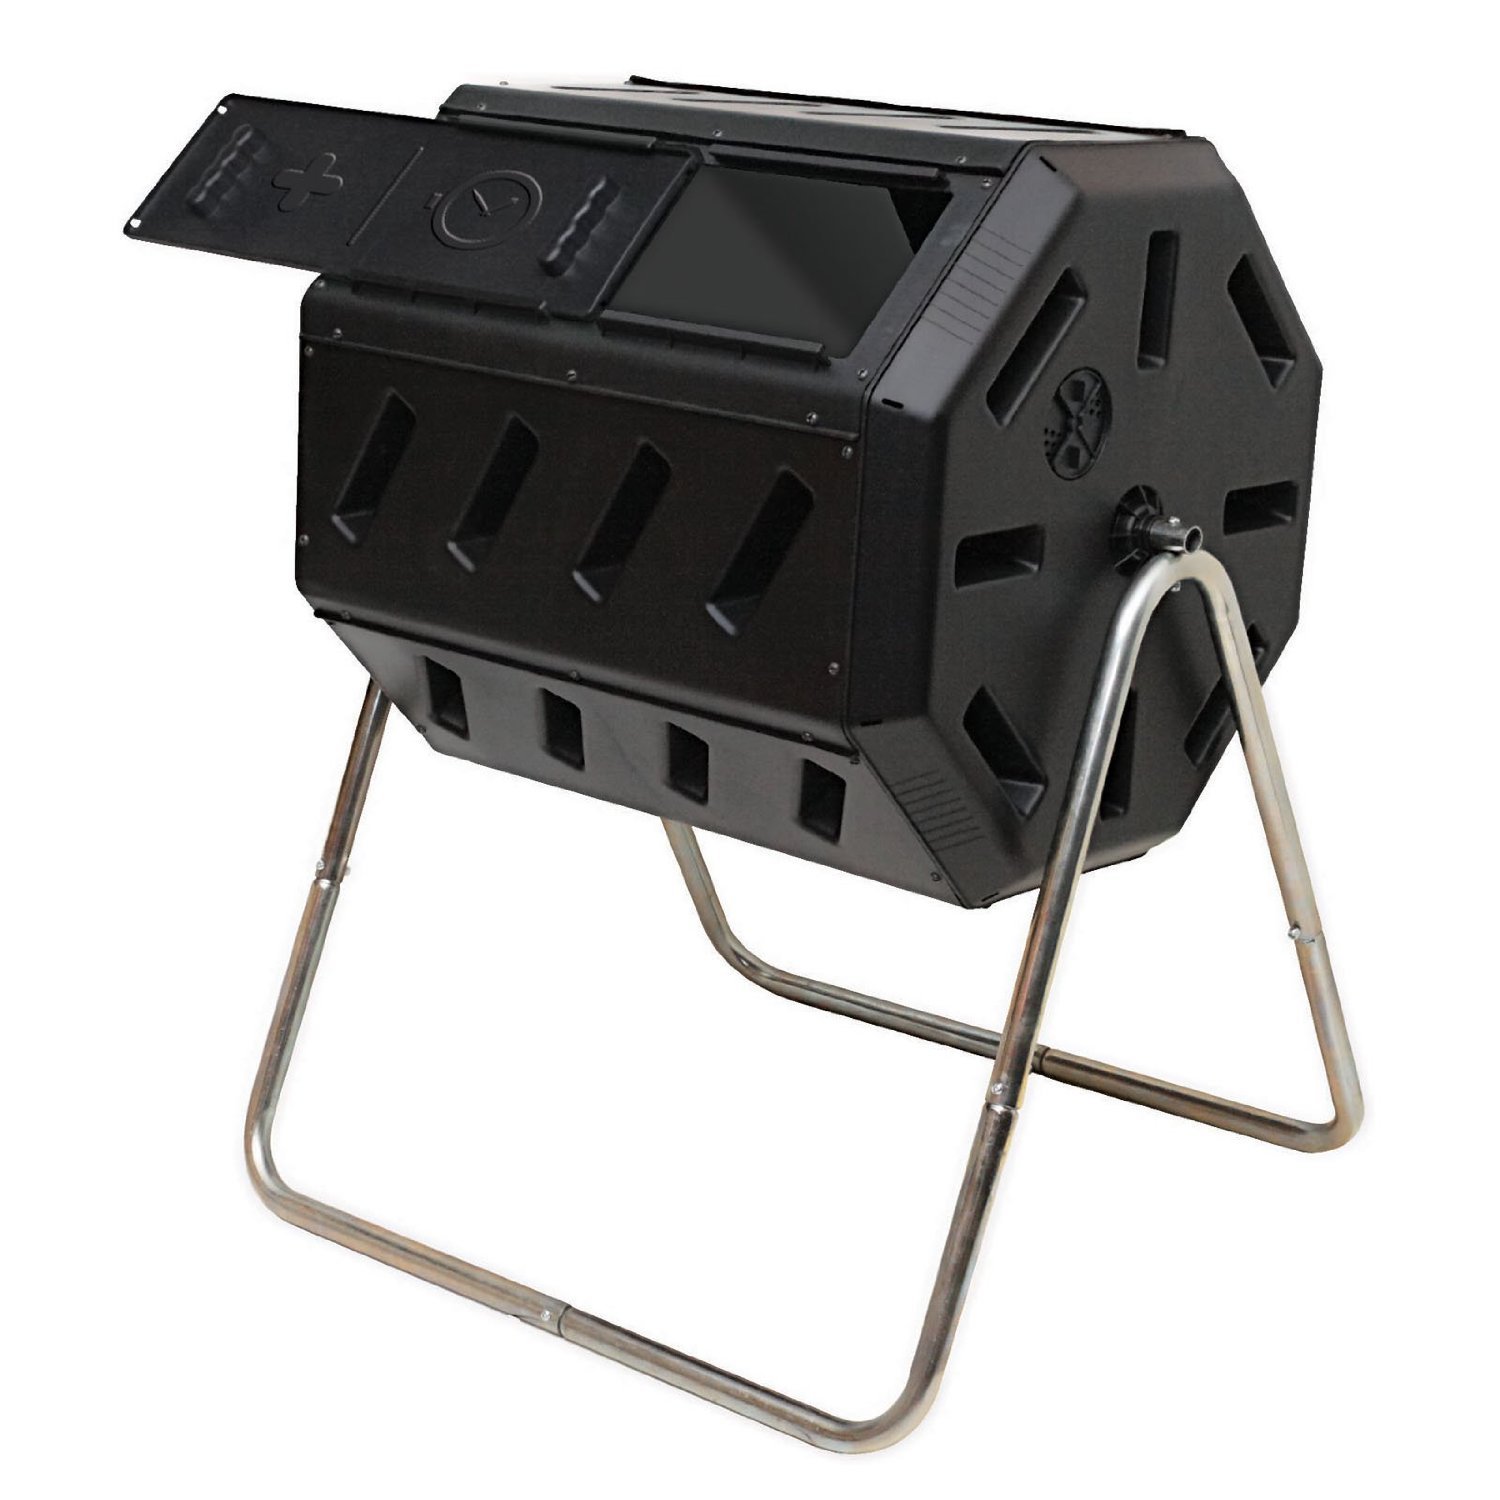
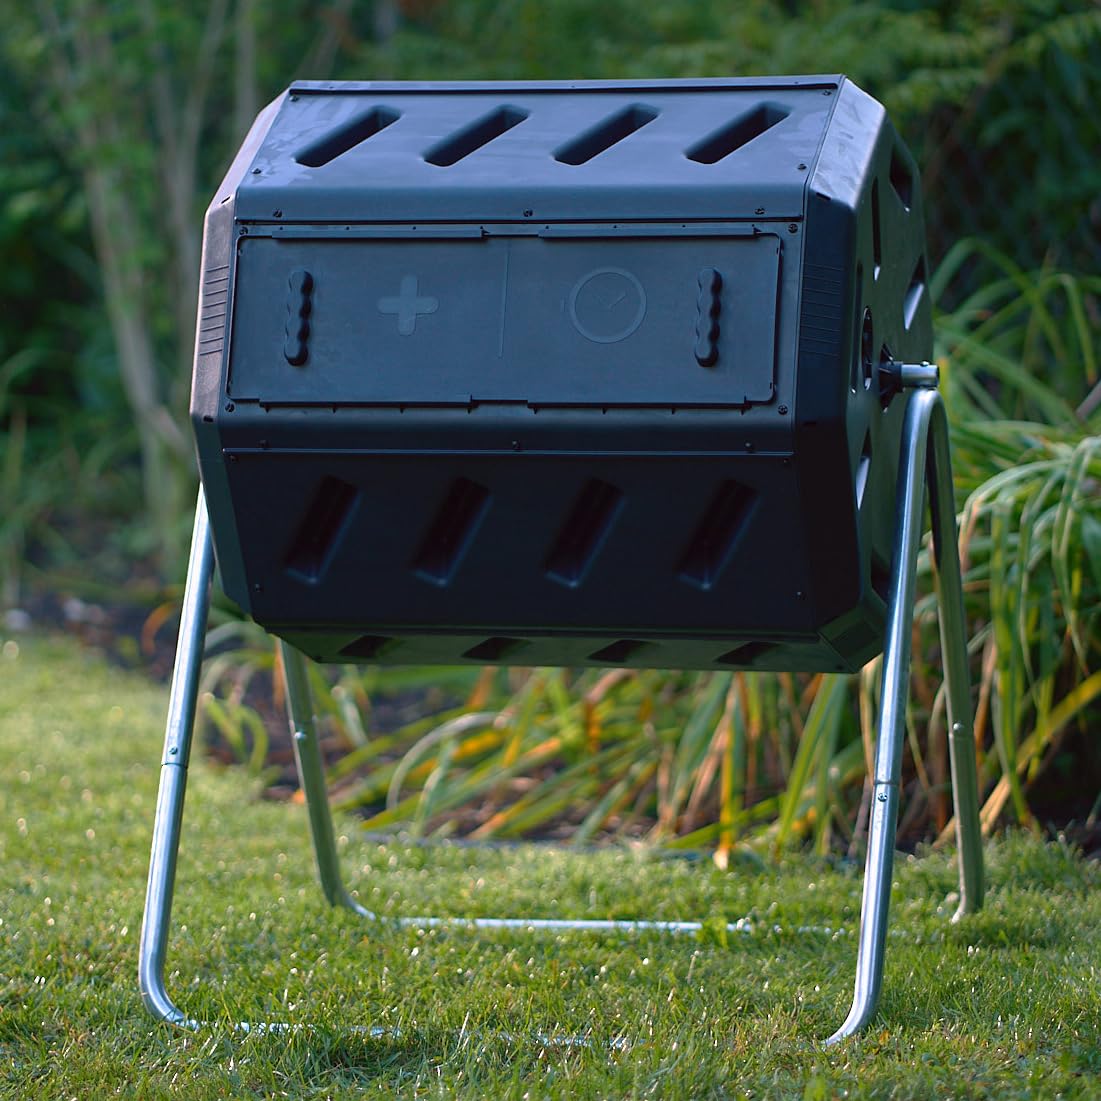
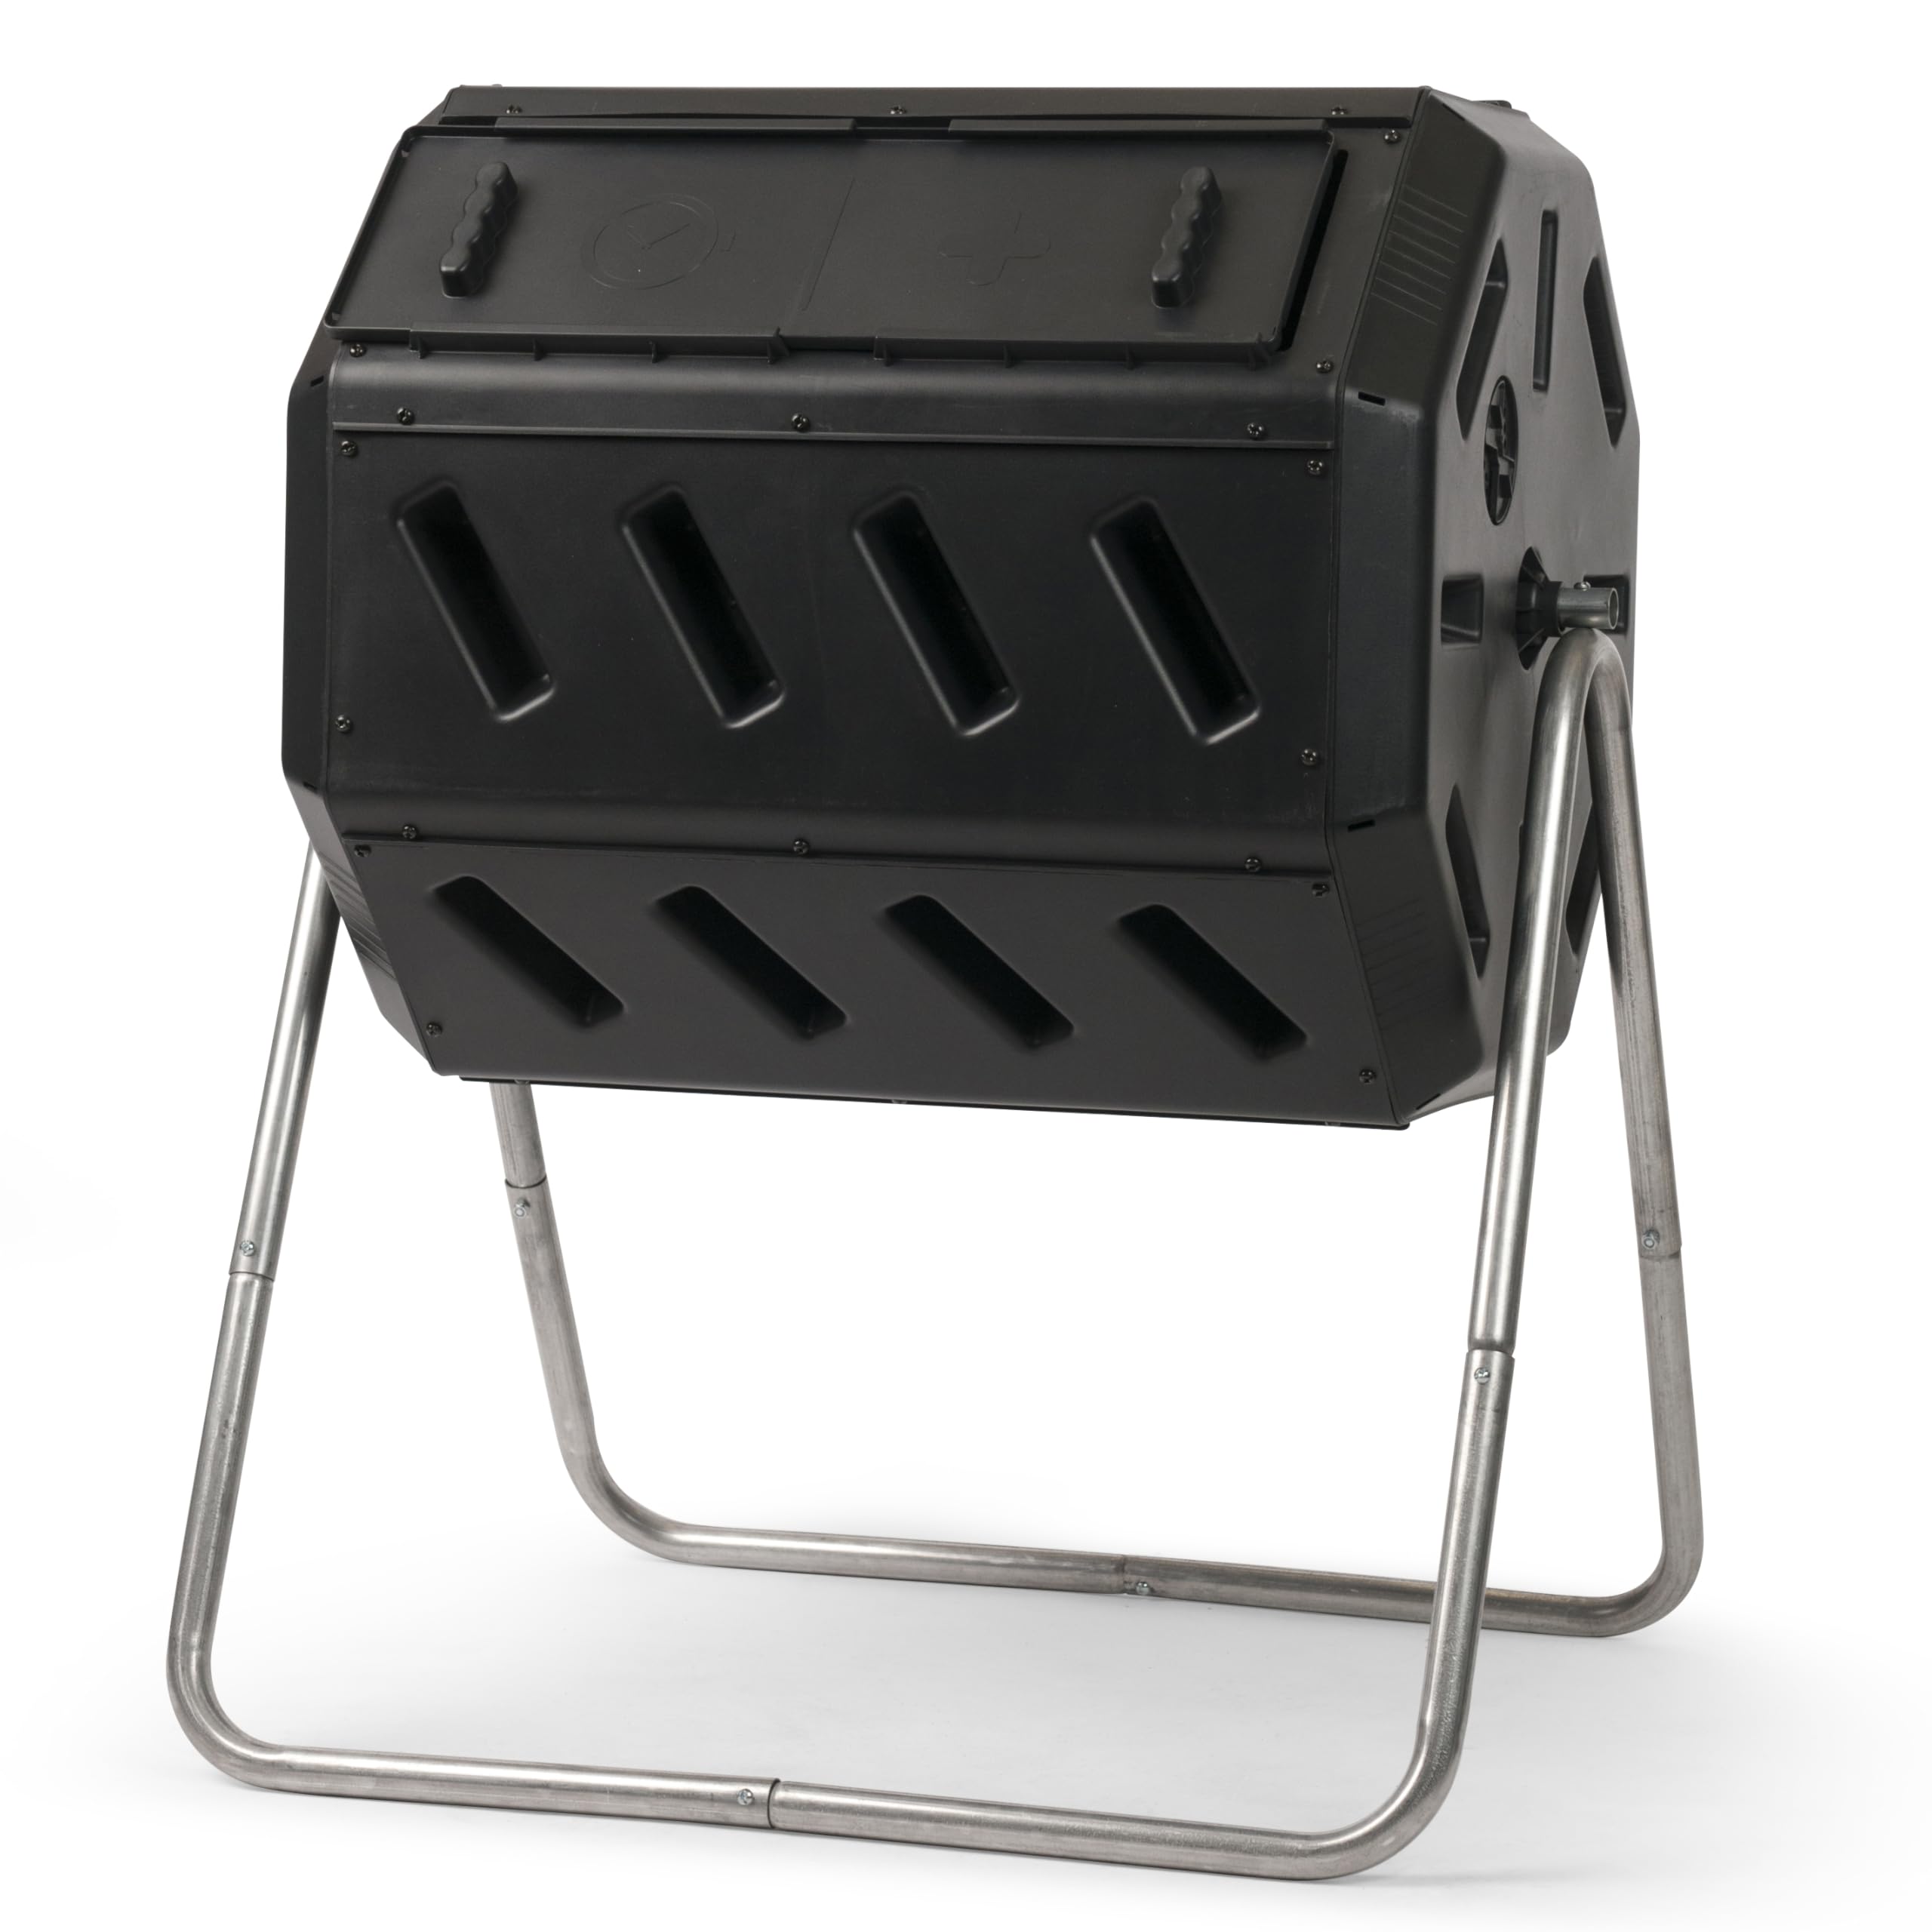
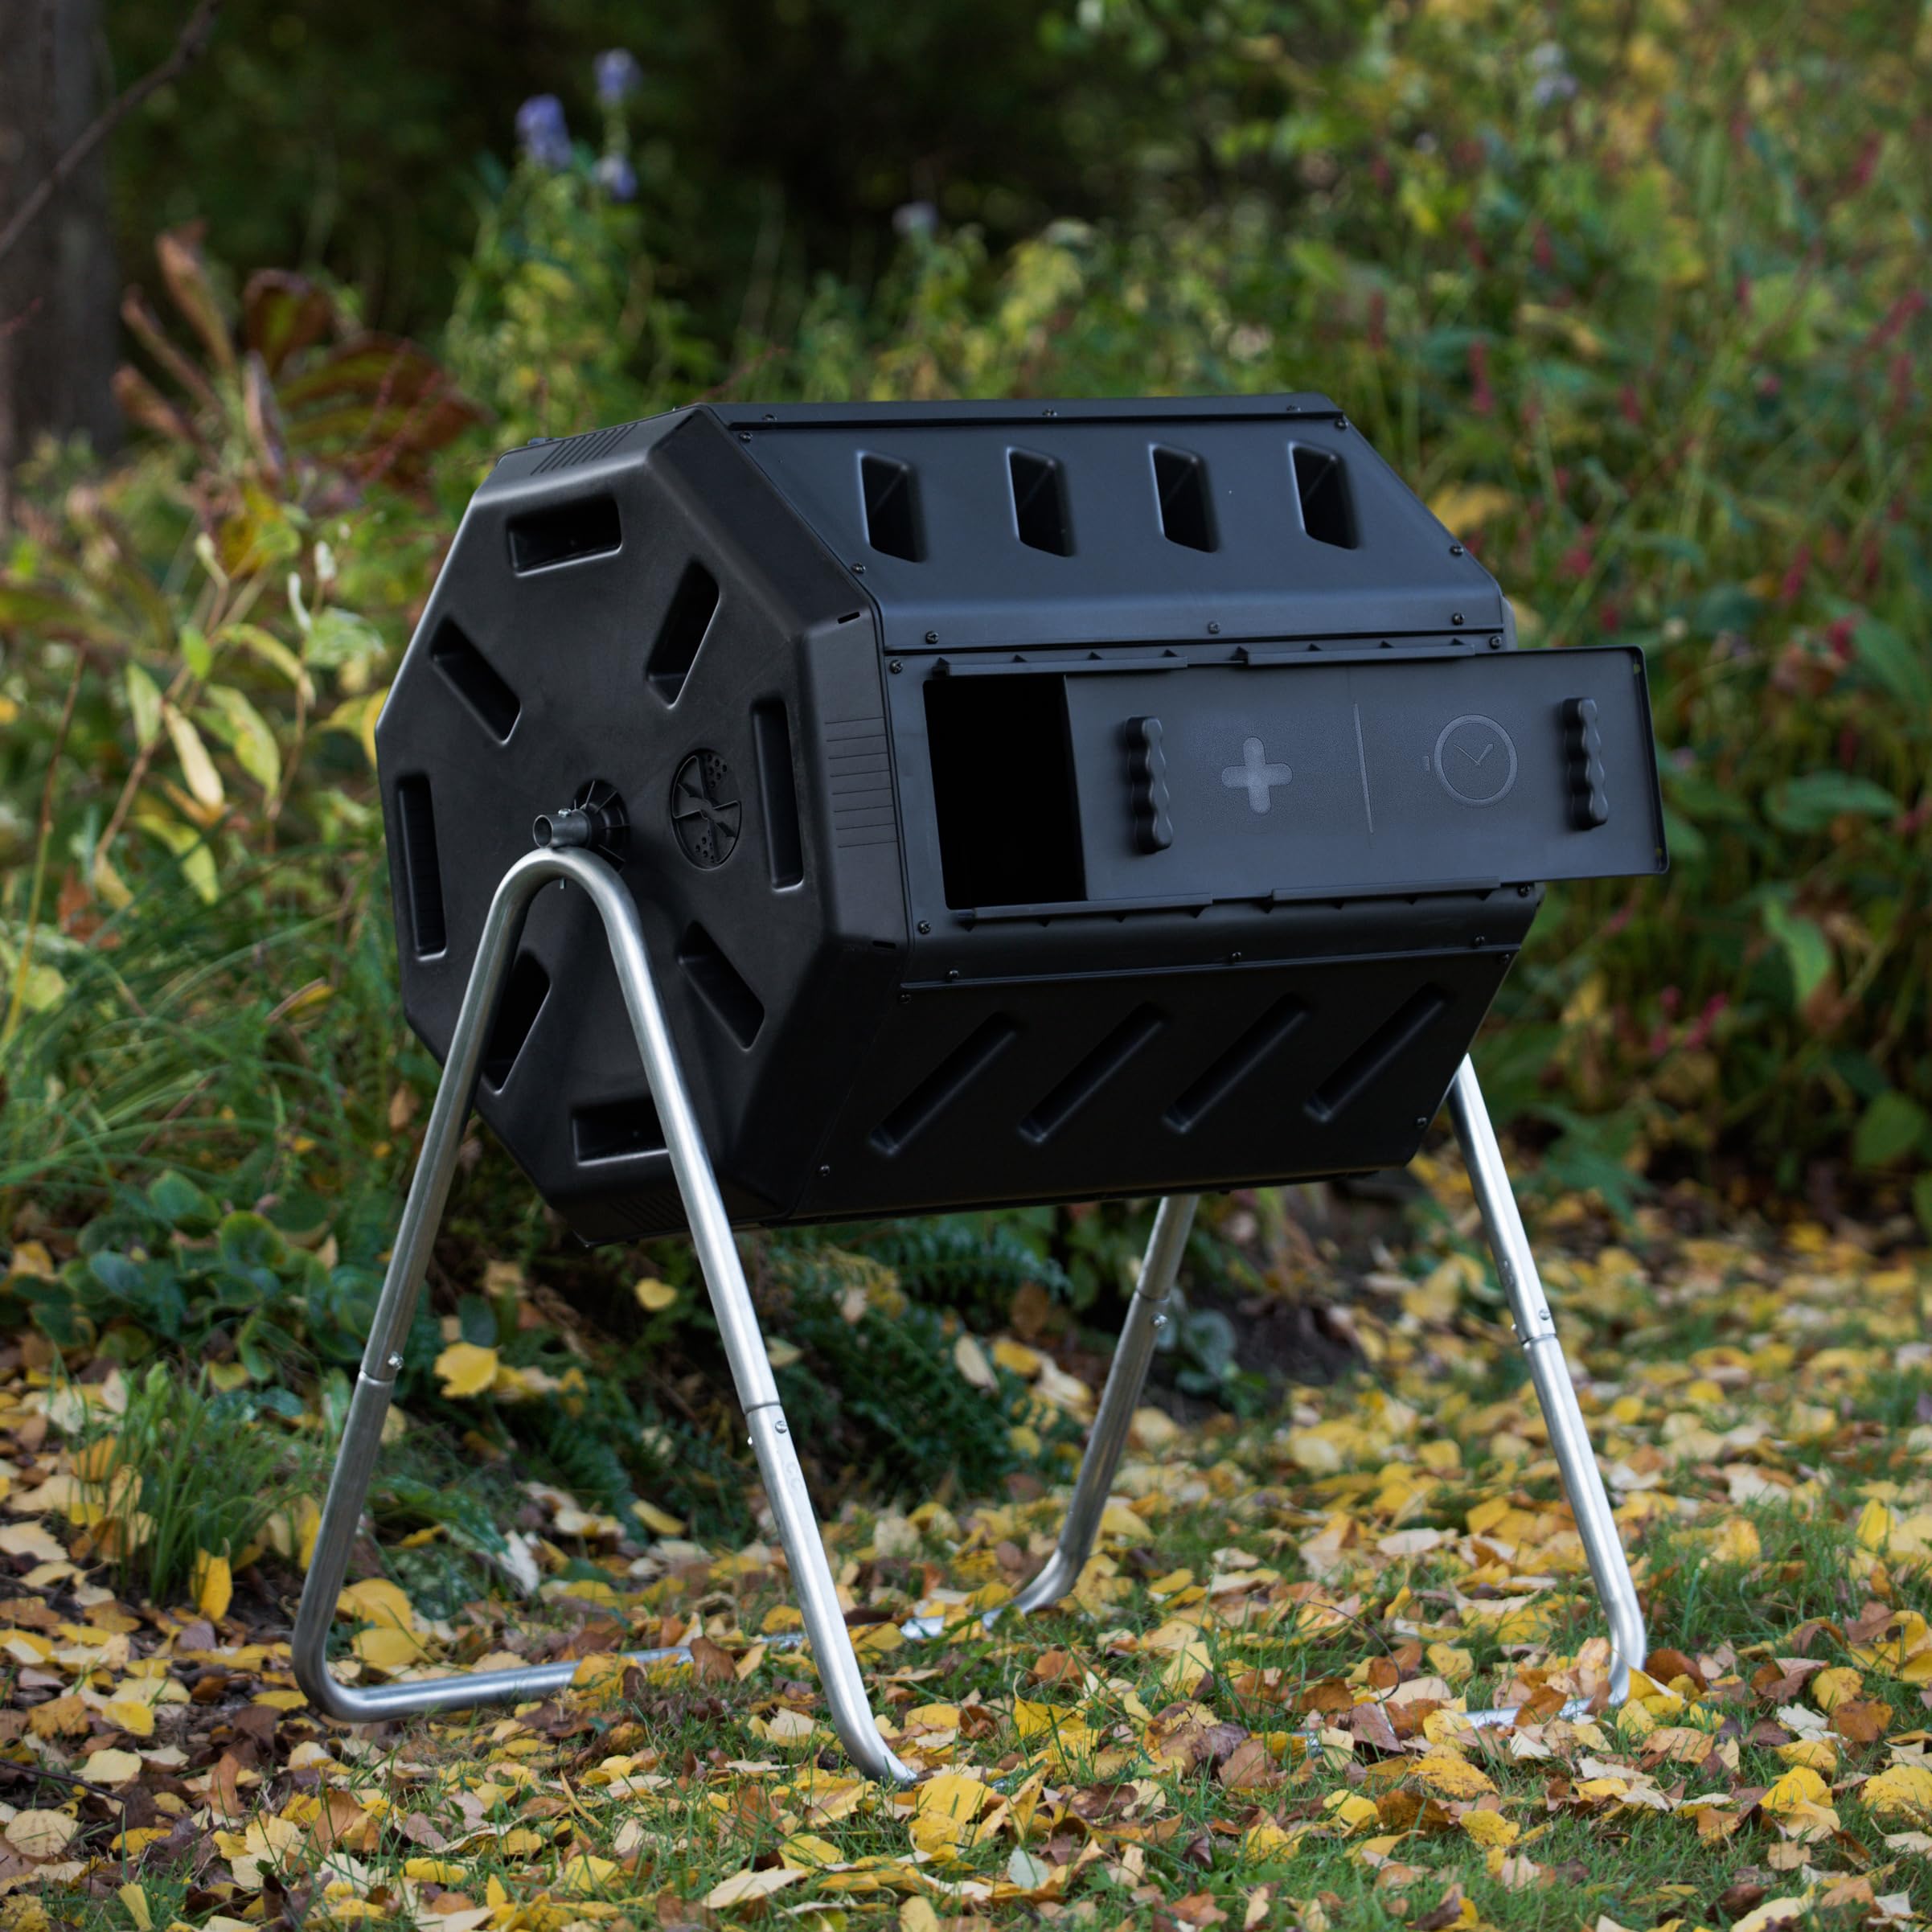
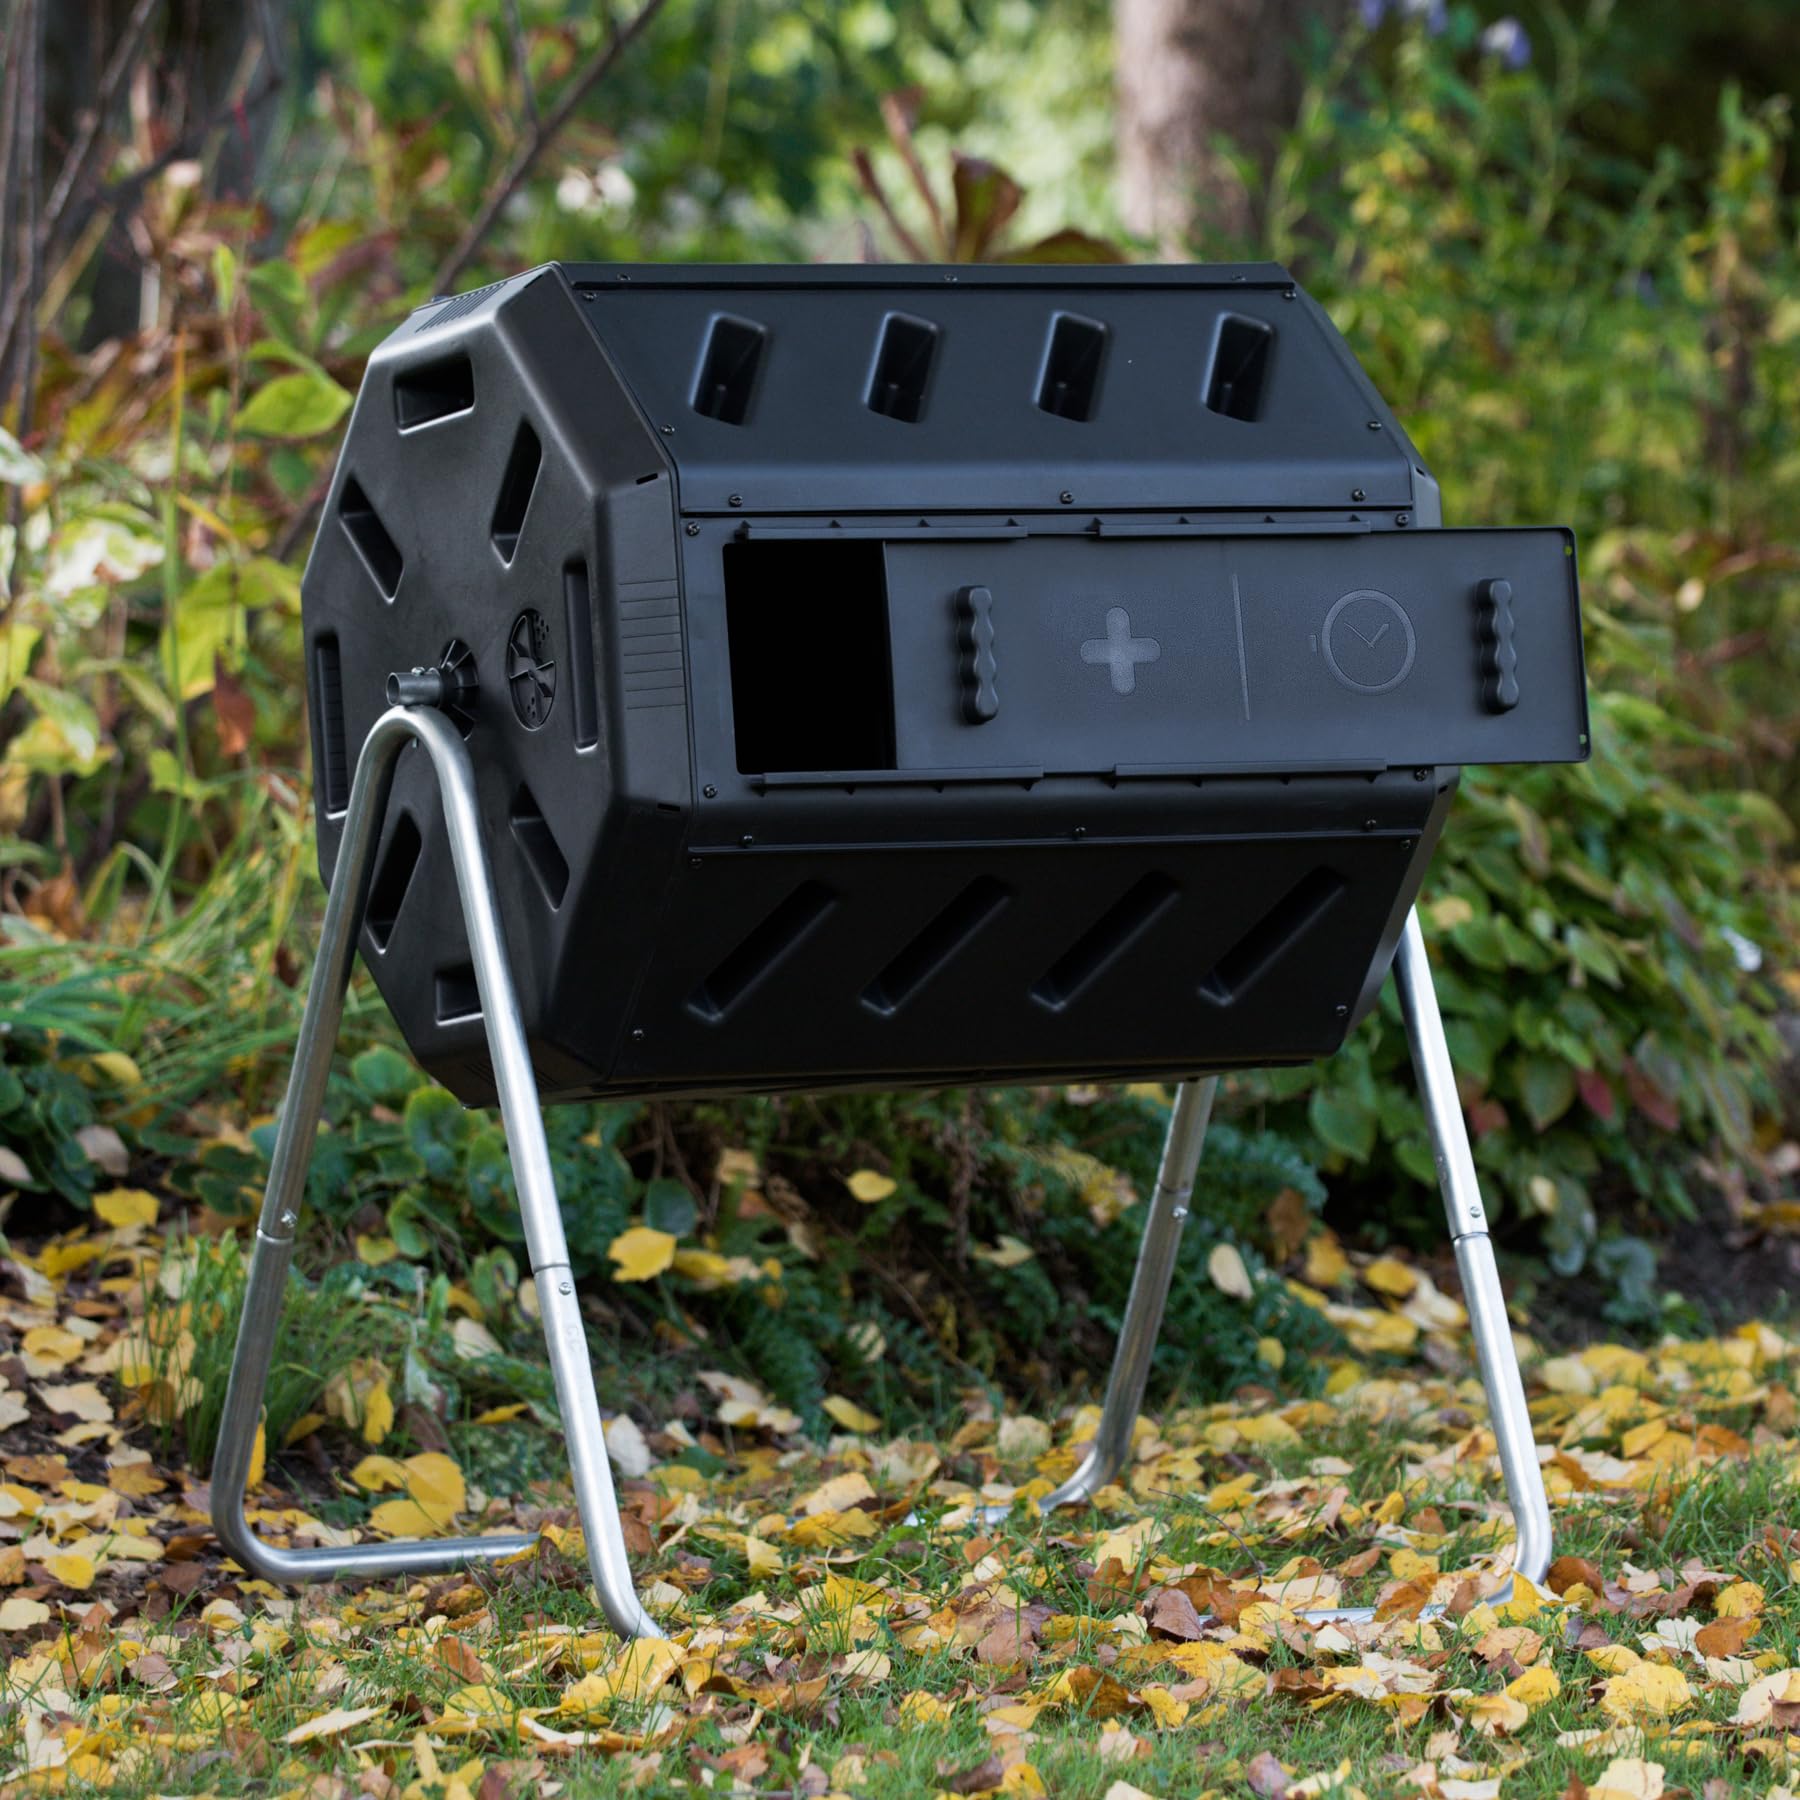
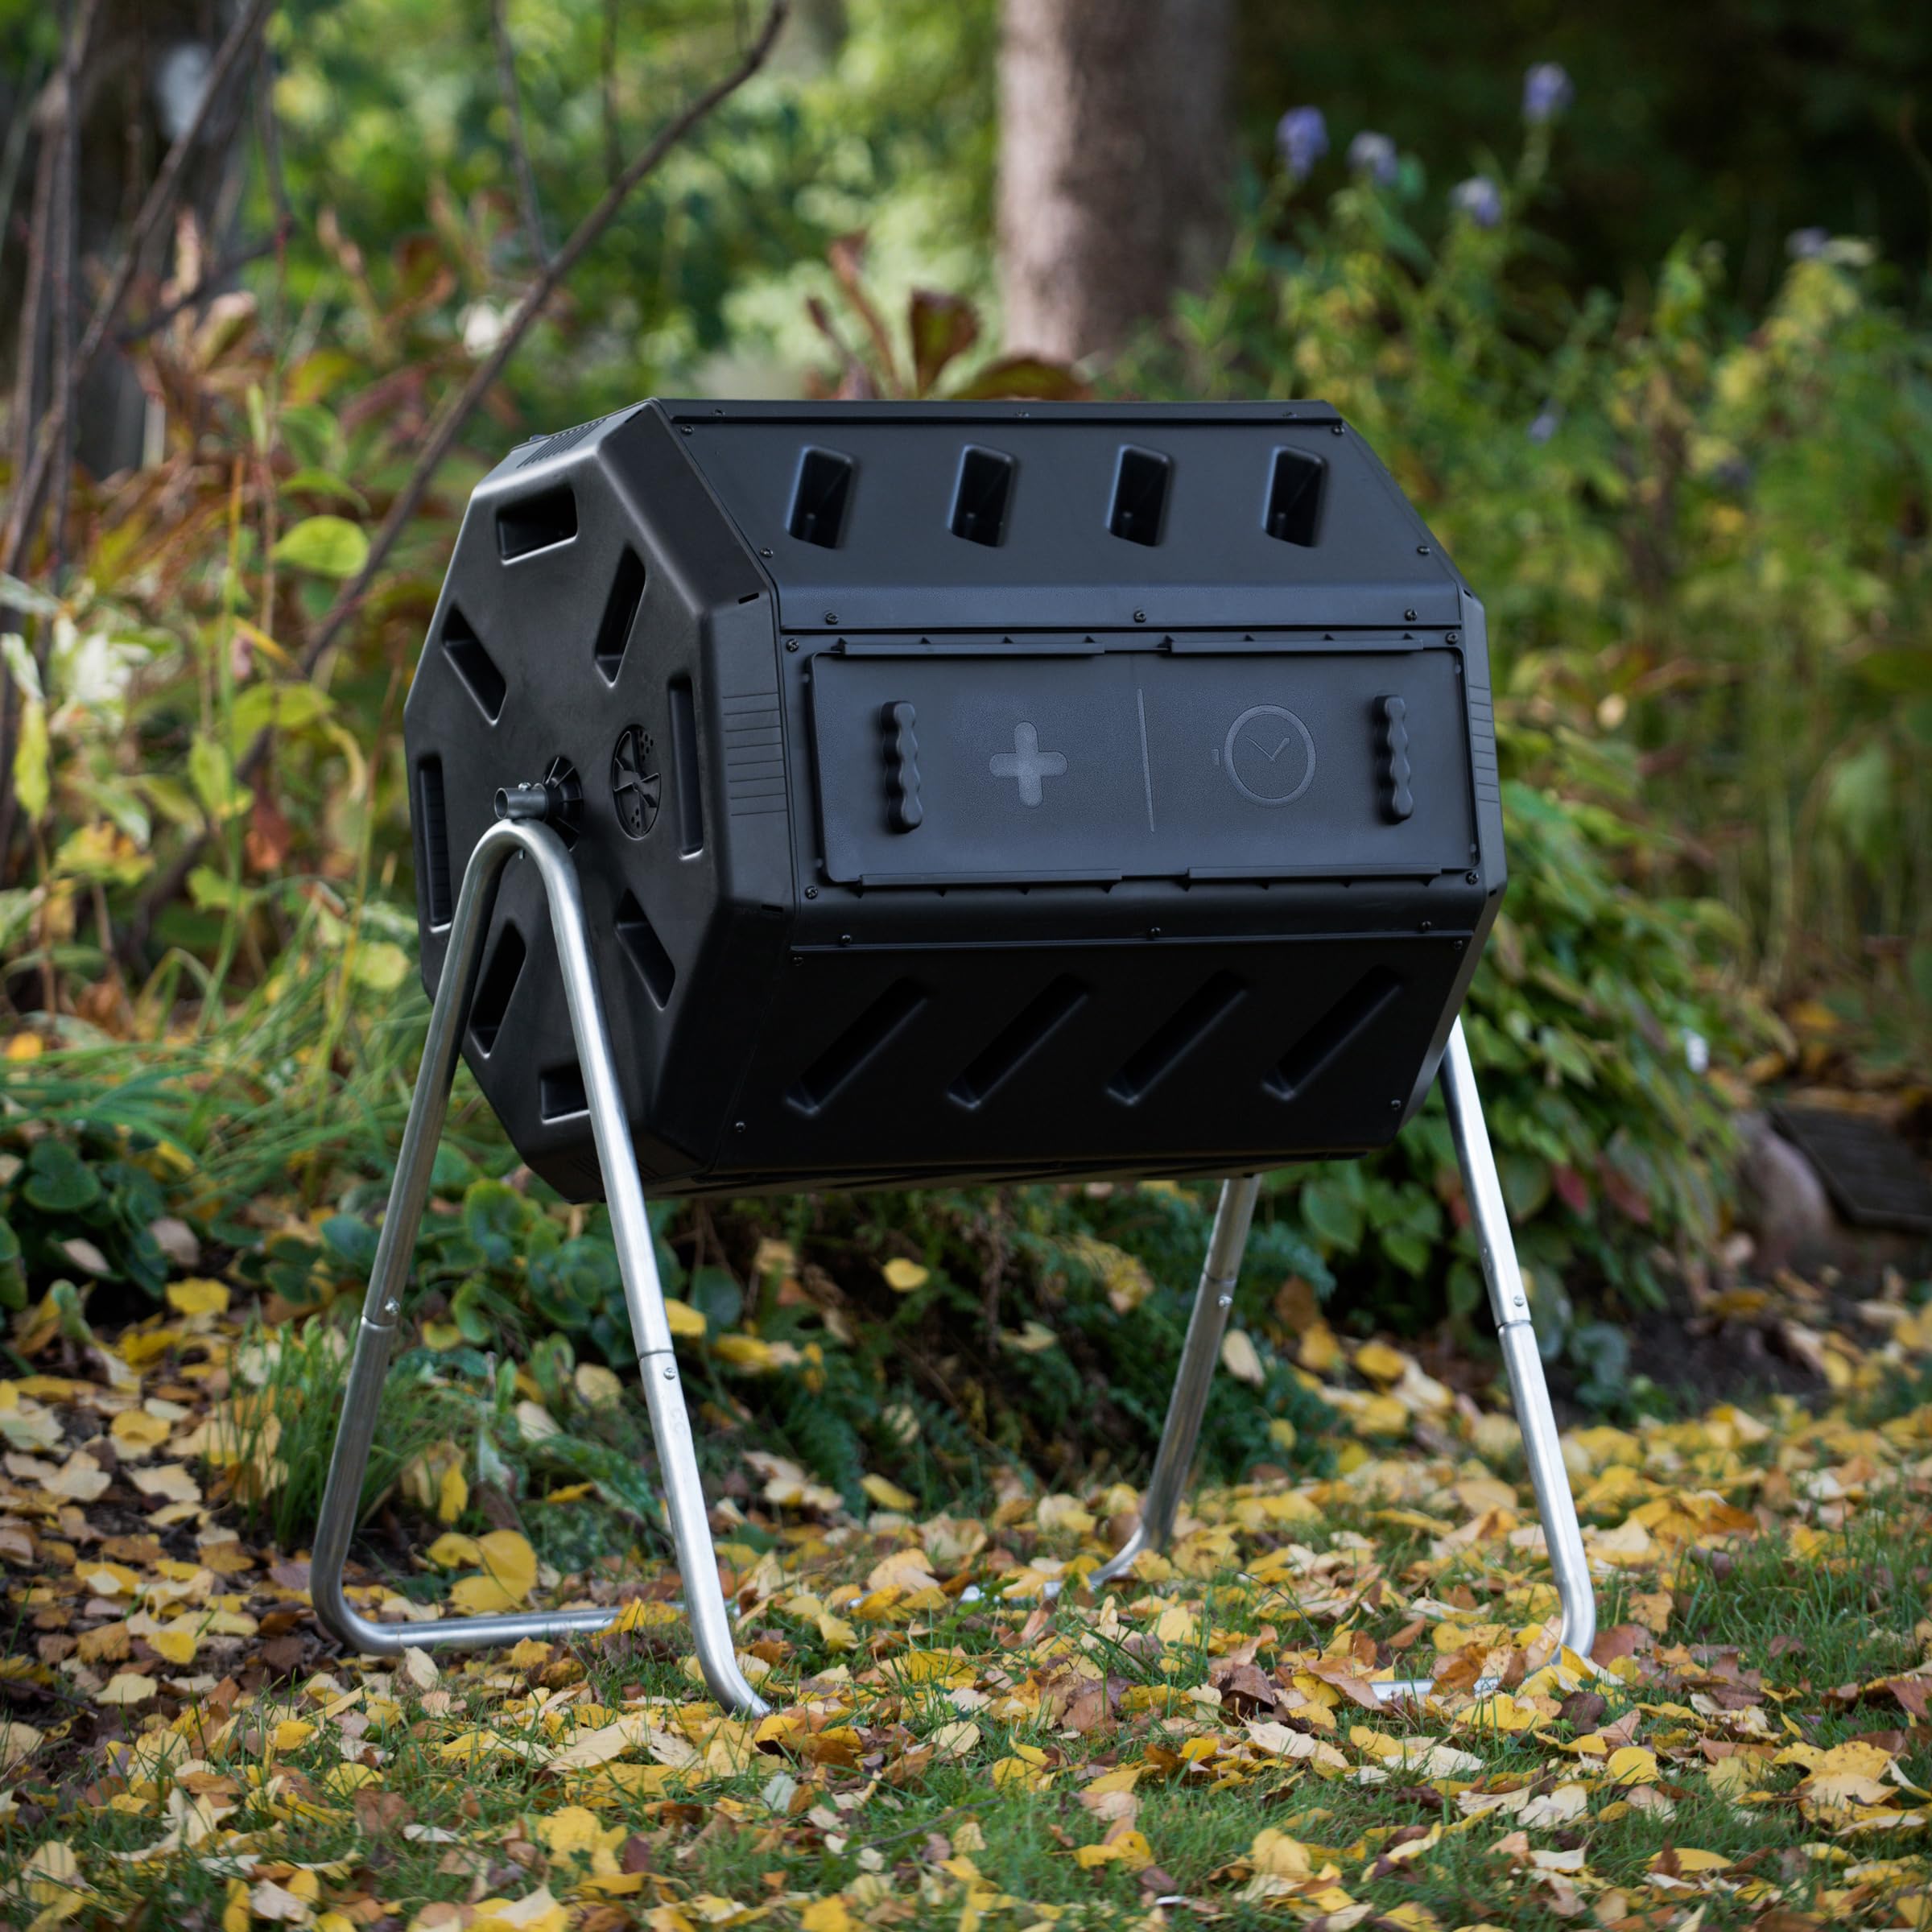
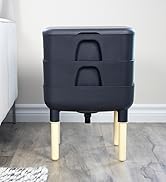
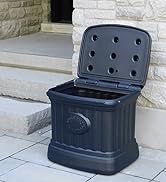
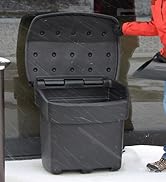
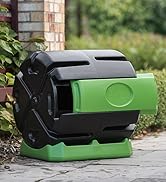
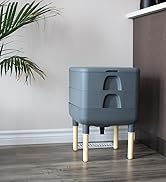
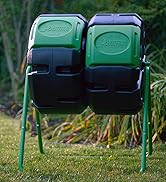
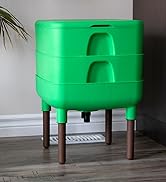
The Dual-Chamber Tumbling Composter is a premium 37-gallon octagonal bin made in Canada from 100% post-consumer recycled plastic. Its innovative dual-chamber design enables continuous composting by allowing one side to cure while the other fills. Featuring UV-resistant polypropylene and a corrosion-proof galvanized steel frame, it’s built for durability and ease of use with ergonomic fins for turning and ample aeration holes. Ideal for eco-conscious professionals seeking efficient, low-effort composting that delivers nutrient-rich soil in as little as two weeks.


| ASIN | B009378AG2 |
| Best Sellers Rank | #11,580 in Patio, Lawn & Garden ( See Top 100 in Patio, Lawn & Garden ) #1 in Outdoor Composting Tumblers |
| Brand | FCMP Outdoor |
| Capacity | 37 Gallons |
| Color | Black |
| Customer Reviews | 4.4 4.4 out of 5 stars (18,737) |
| Is Discontinued By Manufacturer | No |
| Item Weight | 28 pounds |
| Item model number | IM4000 |
| Manufacturer | Forest City Models and Patterns |
| Material | Polypropylene |
| Product Dimensions | 30"L x 28"W x 36"H |
| Shape | Octagonal |
| UPC | 018717049045 095229221503 043973799236 653836979141 768505690095 628344138847 044914791357 728615630220 730309192938 887682116553 741435462925 699178247968 |
A**S
Good product, fantastic Customer Service
I bought this unit as "used, in very good condition" from Amazon Warehouse. As far as I can tell when received, it was never actually used. Someone appears to have taken it out of the box and then returned. All the parts were in there, although as I was assembling it, I discovered that two panels were broken. More on this later. The unit is reasonably easy to assemble once you figure out the somewhat cryptic instructions. To be fair, the skimpy instruction manual refers you to a video on the web site which I assume shows the assembly process in greater detail. I didn't look at it, and after a short while, I figured out the right way to put it together. Be warned that there are lots of screws to place. Lots! Also, it is very easy to assemble the supporting bars in the wrong order, and again the instructions are not terribly clear in the manual. Other than that the assembly process itself is not too hard. Once I got the unit together, I found that the composter stands sturdily enough,and seems to be working. Mine will probably need at least two to four weeks more before it produces anything recognizable as soil, but there's certainly activity taking place in there. It's also a lot less messy than my original standing square-box composter. Now, regarding the pannels, I wrote to the manufacture's support address explaining the situation, and asking whether they could send replacement panels. Remember that I got the unit as "used" from Amazon Warehouse, and so I thought there might be a chance that they could refuse to honor the warranty, in which case I more than half expected that I would have to return the whole thing back to Amazon. I was very happily surprised when they replied within a day, letting me know they were shipping the replacement panels. However, I was then further happily shocked when the panels arrived (plus the whole set of screws as well!) within two days, to Puerto Rico! (normal shipping for most of the stuff I buy only usually takes at lest 5-7 business days! I am happy with the composter, and I am extremely happy with the customer service. The instructions could definitely used some improvement.
T**2
Glad to have this tumbler
Needed to find a more accessible compost bin. Our large compost bin will still be used for yard waste, etc but it's too hard to turn the materials deep down. Have been interested in compost tumblers that meet these criteria: made in America or Canada, tough enough for northern winters, discourages wildlife access, large enough to heat up the materials to form compost, easy to fill and empty, not too heavy for a senior to move. This composter is Canadian which I trust much more than a Chinese built unit. Canadians know winter and this composter appears solid. First, ignore the reviews stating this compost tumbler is difficult to put together. 68+ lady here, and it's not hard at all. Just takes time. As others suggest, watch a few videos on the assembly and you are good to go. I used a Phillips screwdriver, pliers. The assembly took about an hour but I took my time. Hint: if you assemble this indoors as I did, use the box to cover your floor/carpet. The support stand width is about 28" across at the bottom, not 24". Be careful to assemble the stand pieces correctly. There are two longer bolts...set these aside as they are for securing the main bar to the stand, one on each end. The black plastic tube covering the main steel bar comes in one piece, not two as shown in some assembly videos. After placing the two end pieces with the separator in-between onto the bar (they flop all over and slide during this step), secure the bar onto the stand with the two longest bolts. Then you are ready to place and attach the panels, one at a time, securing each panel as you go. The company provided a few extra bolts and nuts which is appreciated. Be sure to watch a couple videos as you need to have the end panels with the vents exactly the same, ie be sure the vents are in line. If the vents are not lined up the same, panels assembly will not work. Each panel fits only one way and snaps into place, but you must bolt them into place securely. They snap into place as an assistance with assembly. Be careful to tighten the bolts snug but don't over tighten as you may crack the panel. Panels are secured with the included nuts and bolts. Fit the separation panel into the slots built into the panels as you go. This takes a little work but I did fine even with arthritic hands. One big plus is the large sliding cover. It slides either way and can easily be taken off for access to the interior. This is much better than two separate small covers. Plenty of room to dump a pail of vegetable waste without spillage. Seems like a well built composter. The plastic is heavy duty, thick. More manageable than the giant bin we've used for decades. We don't have bears in our area, just the regular curious wildlife. Likely, the critters won't be interested in the composter. Even if they are, it will take work to chew it or open it. We are looking forward to years of composting with this tumbler.
I**.
Takes patience to put together.
Very sturdy and nice design. But it takes so long to put together. There are 50+ screws to put in.
A**R
Delivered much beyond the scheduled date that too after taking up the matter with the CC. Assembling the product is really tough. Look for the marking on the frame for correct allignment ( Could have been printed in the slip) and the holes &buttons on the panels for trouble free fixing. Looks sturdy .No comments for the performance of the product since its just two days.
A**Z
Es bastante amplio, los materiales son de calidad. Tiene muchas piezas y lleva un tiempo armarlo, no viene con herramientas para ensamblar pero solo se necesita un destornillador y una llave. El ensamblado es bastante fácil.
D**N
Several panels were cracked and damaged. Pieces did not fit together well. Overall a poorly constructed piece of garbage. Do not buy!
A**ー
Quick delivery and easy set up
A**T
We've had this composter for 6 weeks now and all our standard compostables are going into it. It is breaking down and getting hot, looking like a rich dark compost soil. We can't believe the weight of garbage this is saving us. Yes, the unit has a lot of parts and takes a while to assemble, but if you take your time it goes together easy. Once built it's sturdy and strong, easy to rotate once full. It hasn't seem to attract any animals, doesn't really smell when closed, and it's nice to keep the food scraps away from rodents, a usual problem with traditional ground based compost piles. Happy with product and even happier it's Canadian made!
Trustpilot
1 month ago
3 weeks ago