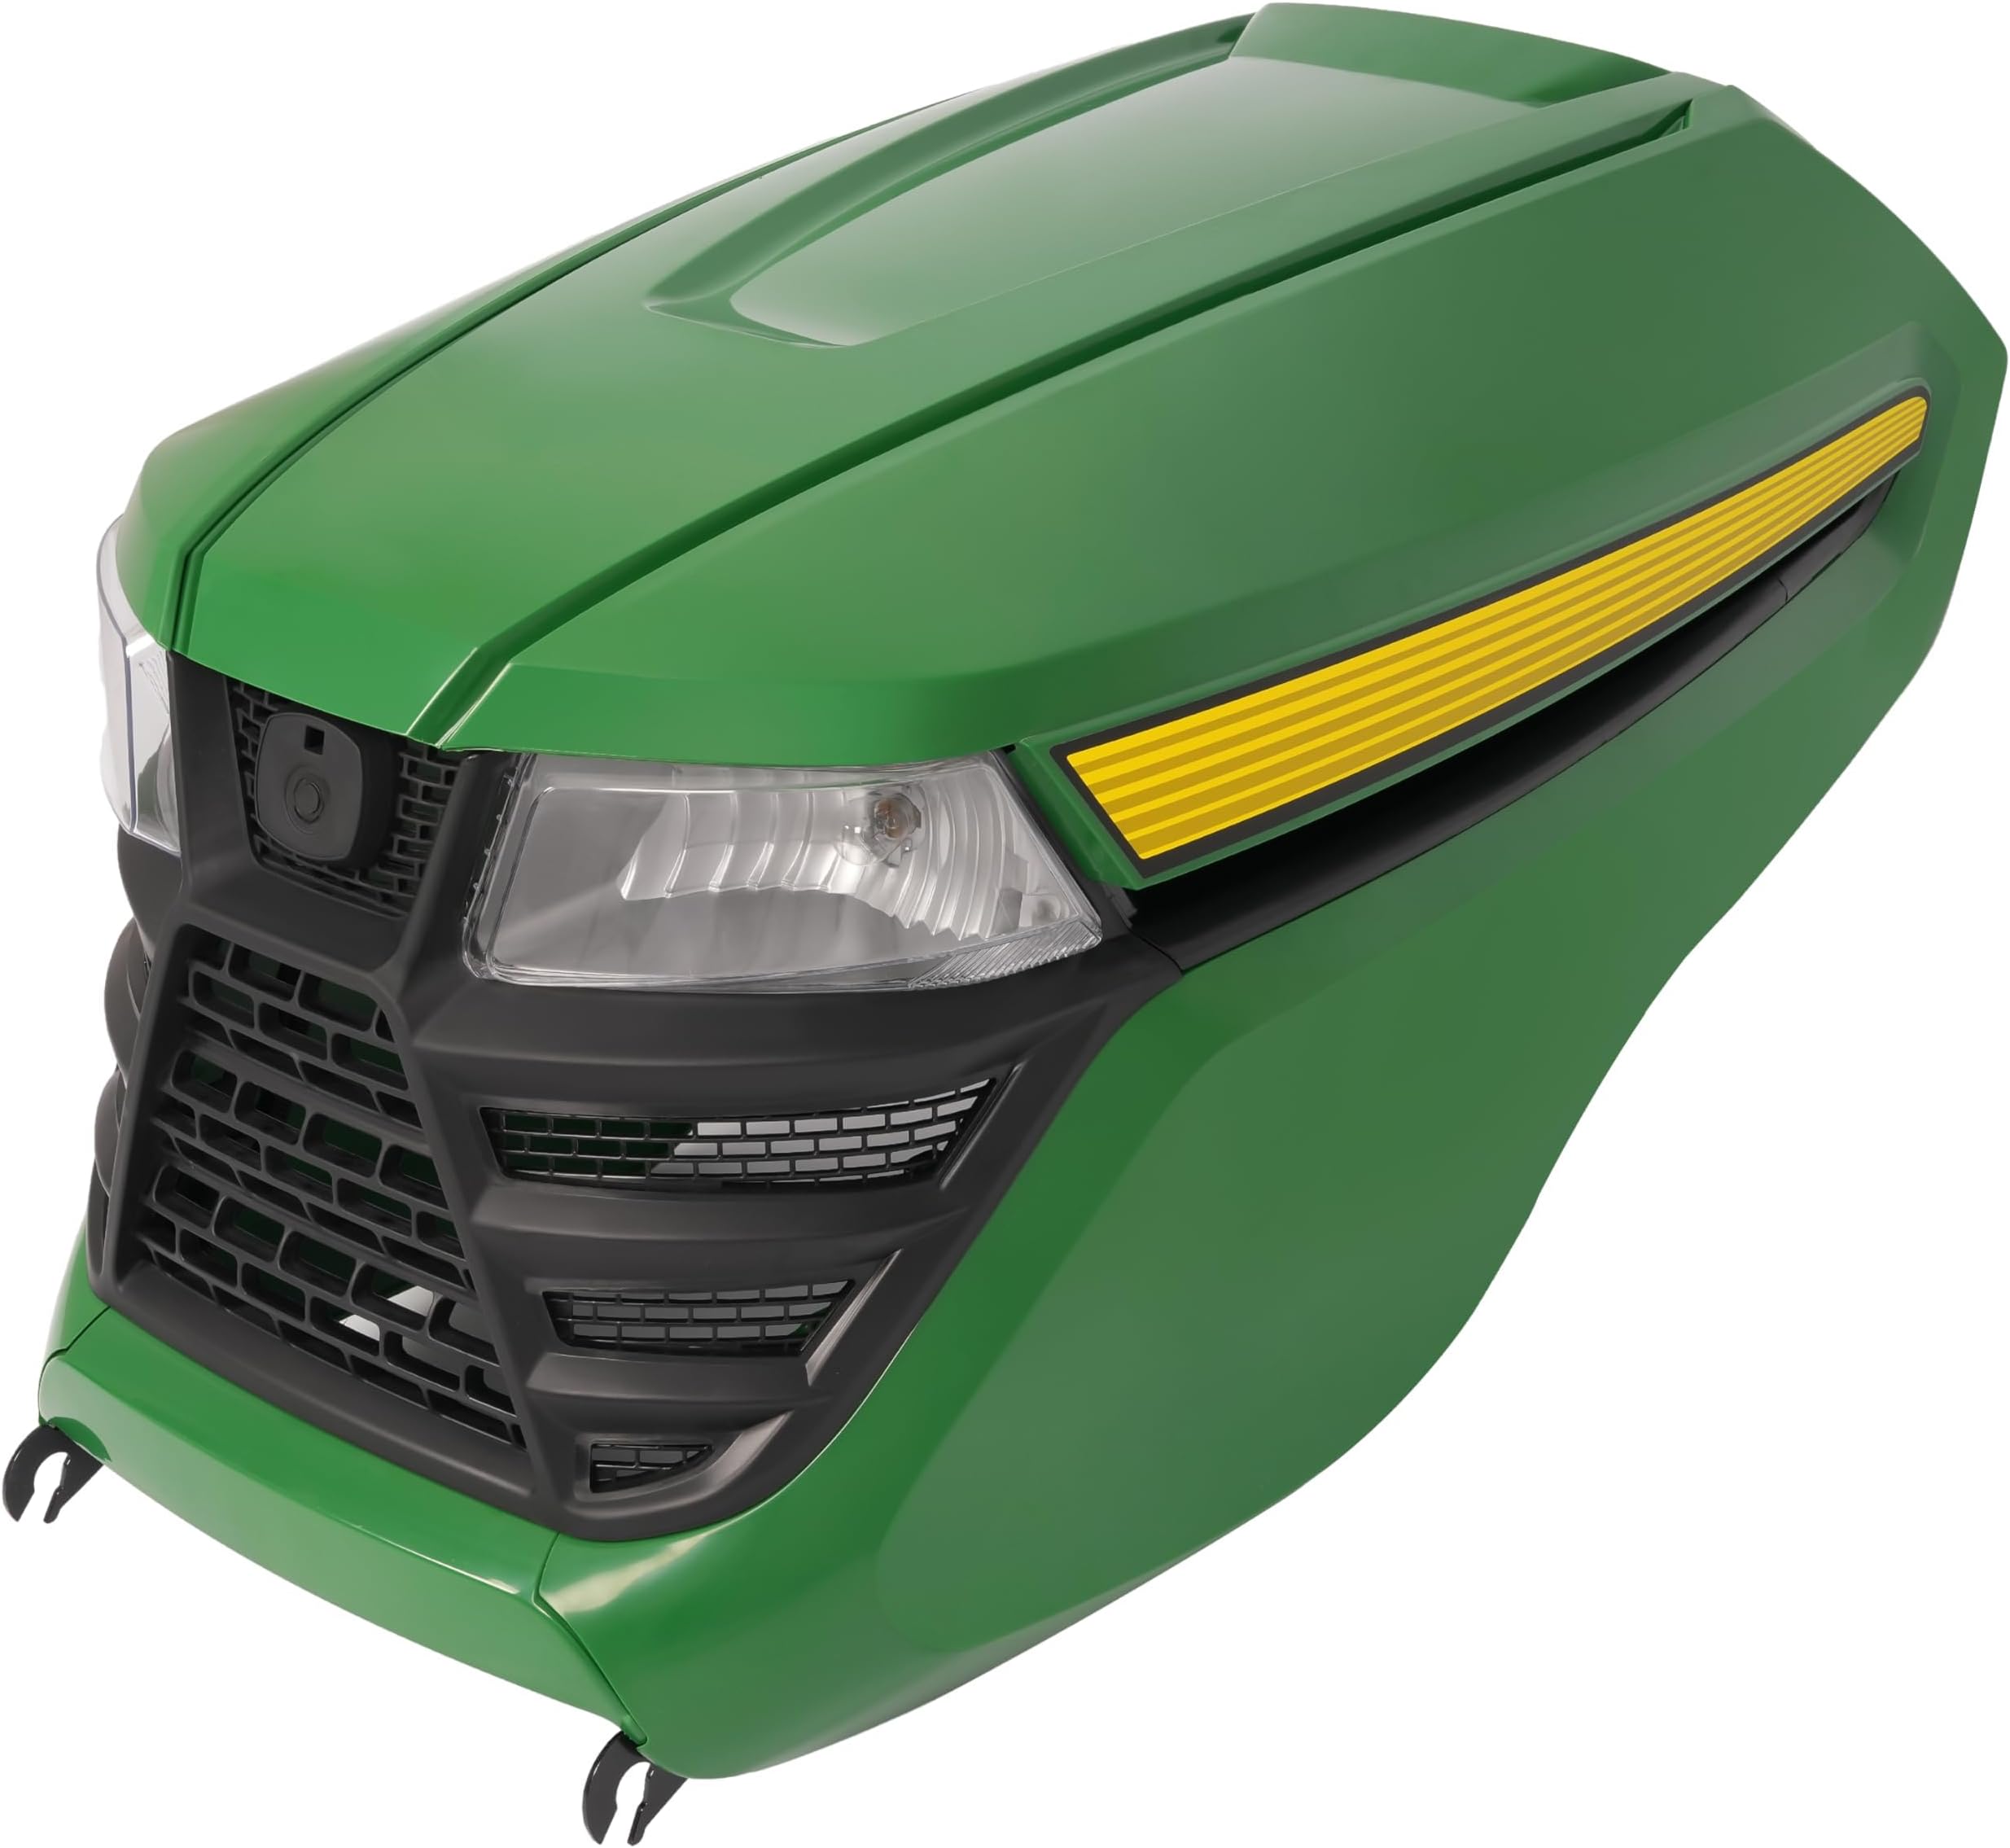
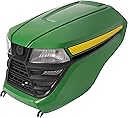
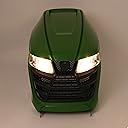
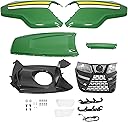
Description
🚜 Upgrade your ride, outshine the rest!
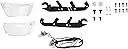
- RUGGED ABS PLASTIC BUILD - Engineered for toughness and weather resistance, ensuring long-lasting performance in demanding outdoor conditions.
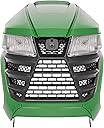
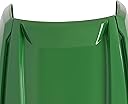
- SLEEK GREEN BLACK FINISH - A modern, factory-inspired paint job that elevates your tractor’s aesthetic and commands attention on the lawn.
- QUICK NO NONSENSE INSTALLATION - Snap clips and bolt fittings designed for a straightforward setup—get back to work faster without OEM price tags.
- SEAMLESS JOHN DEERE COMPATIBILITY - Perfectly tailored to fit a wide range of John Deere X300 series tractors, guaranteeing a flawless upgrade or replacement.
- ENHANCED VISIBILITY WITH HEADLIGHTS - Built-in front grille headlights boost low-light operation safety and style, so you never miss a task at dusk.
The HECASA Complete Hood Kit is a durable, ABS plastic replacement set designed specifically for John Deere X300-X394 lawn tractors. Featuring a stylish green and black finish, it includes hood side panels, an upper hood, and a front grille with integrated headlights to enhance both appearance and functionality. This kit offers a cost-effective, easy-to-install alternative to OEM parts, improving tractor visibility and protecting your engine with rugged, weather-resistant materials.