

🛠️ Upgrade your clean game with the Bissell Hose that just fits right!
The Bissell Hose with Handle Flex (OEM part 203-7152) is a high-quality, USA-made replacement hose designed to fit various Bissell models. Weighing just 11.7 ounces and measuring 57 cm, it installs quickly without tools, restoring your machine’s water flow and performance. Backed by a 4.6-star rating and a 30-day warranty, it’s the smart, eco-conscious choice to keep your Bissell running like new.

| ASIN | B0047L49JG |
| Assembly required | No |
| Batteries required | No |
| Best Sellers Rank | #314,267 in Home & Kitchen ( See Top 100 in Home & Kitchen ) #175 in Vacuum Hoses |
| Brand | Bissell |
| Color | Green |
| Customer Reviews | 4.6 4.6 out of 5 stars (1,315) |
| Global Trade Identification Number | 07225830252945 |
| Included Components | Hose & Handle |
| Is Discontinued By Manufacturer | No |
| Item Length | 57 Centimeters |
| Item Weight | 11.7 ounces |
| Item model number | 203-7152 |
| Manufacturer | Bissell |
| Material | Plastic |
| Product Dimensions | 11"L x 15"W |
| Warranty Description | 30 Day Warranty |
S**R
It works! Took me less than 10 minutes...
The product looked like it was high quality and it fit my Bissell perfectly. It was a super easy install and fixed the problem right away, which in my case was no water coming out of the hose. It does seem like instructions should come with it for those who aren't handy. But it's seven screws and it's pretty straightforward to see where all the parts go. There are several videos on YouTube to walk you through it if you get stumped. Great product, great price, came quick, and got my Bissell Little Green machine back up and running and not in landfill! Yahoo!
B**K
Easy to install, working great!
The hose and nozzle were very easy to install and the machine is now up and running good as new!
T**Y
Nice to repair.
Fit perfectly after figuring out how to remove the original and replacing with the new. Works just right.
D**Y
Short hose - simple fix
Like a lot of orders for this replacement hose here, the black water feeder line was 6 inches too short. I went to the auto parts store and bought a tubing connector and 2 clamps. I scavenged 6 inches of black tubing from the old hose and spliced it to the new hose and it fit perfectly. Problem solved. It's a great little machine and I'm glad it's fixed!
C**N
easy replacement - here's how
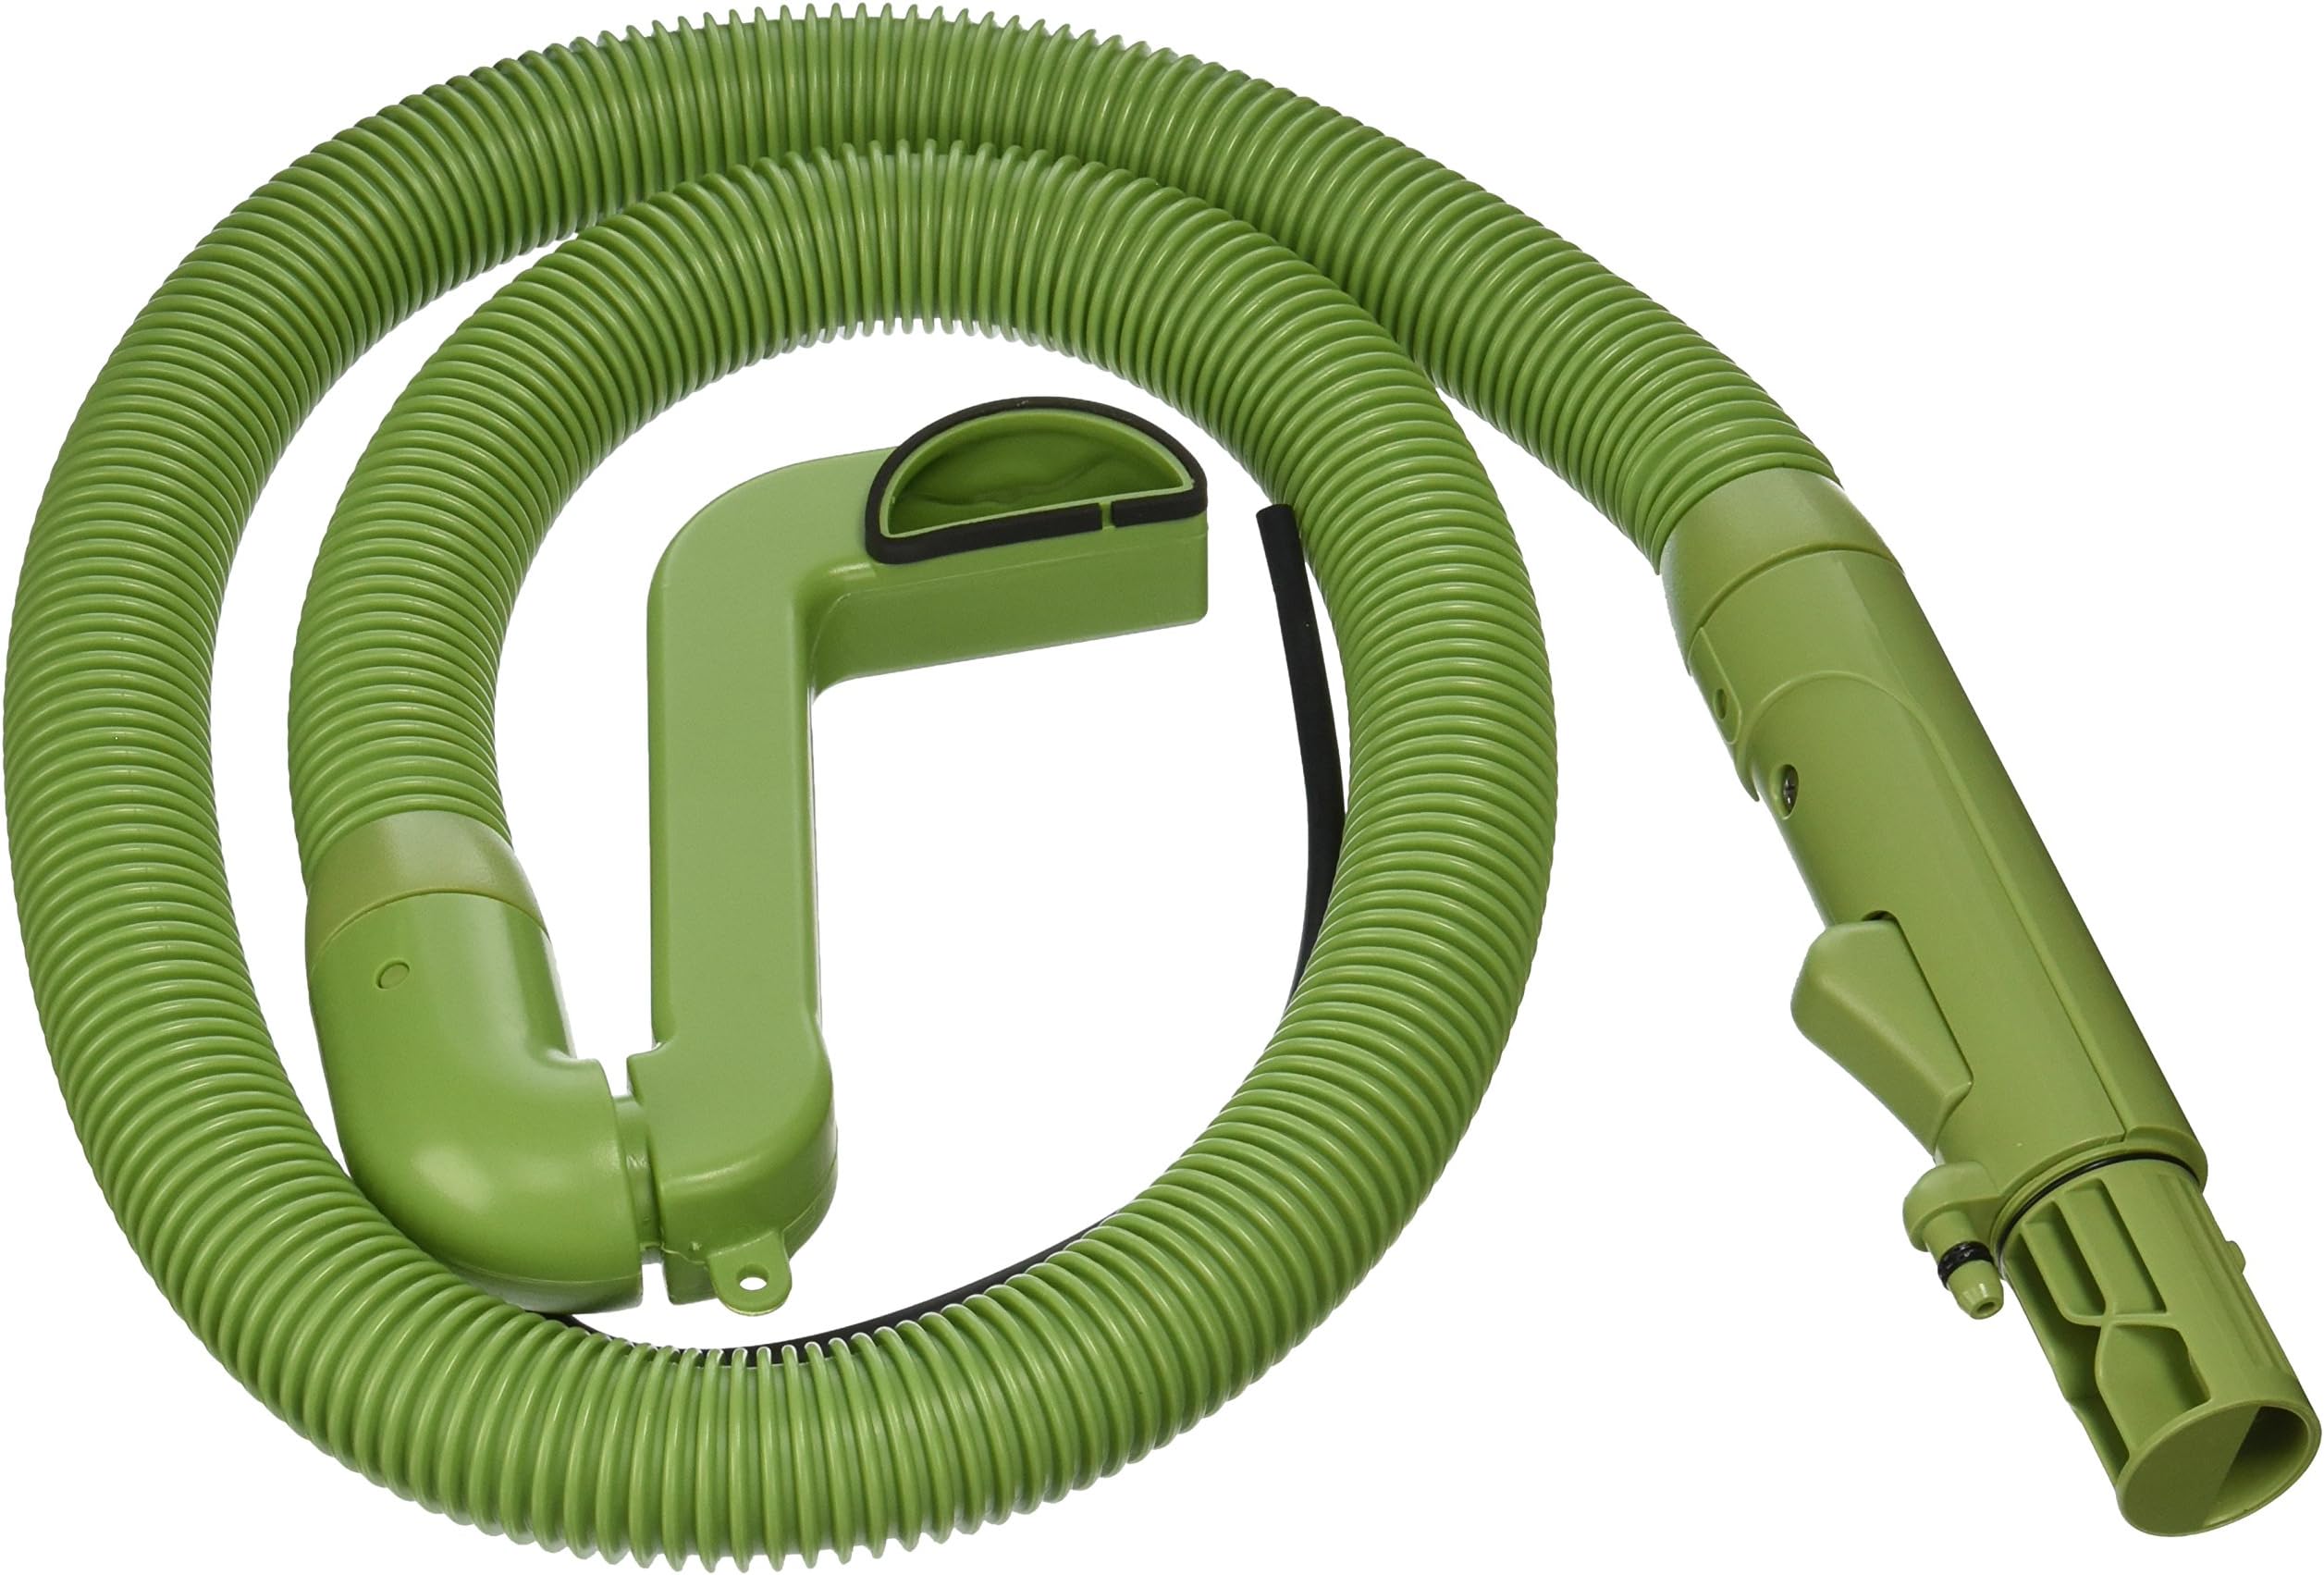
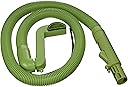
works great + simple replacement. it doesn't come with instructions, but it's not difficult - an easy 20-40 minute job. here's how. how to replace the assembly: (you'll need a Phillips head screwdriver and probably a set of needlenose pliers.) • unplug the machine from the wall outlet (duh...) • remove waste tank + fresh water tank • turn the machine over and unscrew bottom cover. there's six screws here. - you'll probably want to put the bottom cover in the tub or something, especially if your steamer has heavy use and there's a few years of jank inside...eww. • flip the machine over and unscrew the top housing cover. there's four screws here - two on each side of the housing, located where the water tanks sit. the switches on the top housing are connected to the motor with a few wires. they can be easily disconnected if you'd like. you might find it easier to disconnect the switches and set the top housing aside, but remember to label the wires. • find where the current little fresh water hose is connected to the water pump. on this replacement part, it's the small black rubber hose, but on my old model it was clear. • it's usually connected to the pump with a squeeze-type hose clamp. your model might differ, but for me I used the needlenose pliers to gently squeeze the clamp and pull it back onto the clear hose. this releases the pressure around the connection and you'll be able to gently pull it right off. • save the hose clamp - this replacement doesn't come with one. • pull the rubber hose back towards the rear of the steamer where it comes in from underneath. you might need to use the pliers to gently tug it through. • flip the machine over and pull the rubber hose out from the top of the machine. • the whole flex assembly is attached with two screws - one underneath the rubber hose you just pulled out from the top and the other near the waste tank. unscrew these and throw the old unit away. (again, it's probably really gross anyhow so why save it...) • screw the new assembly into place. • thread the little black rubber hose up from the bottom of the unit to the pump up top. you might have to gently pull an inch or two more hose out from the flex tube so it reaches the pump. if you do, that's ok. • flip the machine over and slide the hose clamp onto the end of the black rubber hose. • gently slide the hose onto the end of the pump and use needlenose pliers to secure the hose to the pump. • if you disconnected the switches in the top housing, reconnect them now and place the top housing back onto the main body. • before screwing the top housing in, plug the unit it and flip it on for a quick second. you want to make sure the switches are properly reconnected before fastening the housing in place. if it works, screw the top housing in place. • flip the machine on its back one last time - screw the bottom cover in place. • replace the waste tank and fresh water tank. attach a brush tool to the flex assembly, plug in the unit and give it a test run. • see if the vacuum function works and squeeze + hold down the water trigger. it'll take a second or two for the pump to get fresh water to the brush tool - keep squeezing the trigger and it should spray after a short delay.
R**N
Wish I had done this years ago
Not the easiest repair on this older Bissel Little Green but the end result was eye opening. For years I have had to really push to install the brush head onto the handle and over the years it would crack the brush head around the water connecter and then leak badly until a new brush head was replaced (3 times). The new brush slipped right on and latched easily on this new hose assy as it should and no leaks. It does take a minute or two to prime the water line.
S**E
Easy DIY Repair
This is a good replacement for the original hose and it comes from Bissell. This is an easy DIY repair that you can do in under half an hour (actually about 20 minutes). 1) Unplug the cleaner. 2) Remove the 2 tanks. 3) Remove the 6 bottom screws over a surface that can get wet. Maybe clean the bottom if it is dirty. 4) Remove the top 4 screws. A longer shank Phillips screwdriver helps on one of the screws. 5) Disconnect the black pump hose from the pump. You may need needle nosed pliers for the hose clamp. I used my fingers. Save the clamp. 6) Pull out the black pump hose and remember its' path. 7) Remove the 2 screws on the bottom side that hold the main hose in place. 8) Remove the main hose. 9) To reassemble reverse these steps.
A**P
Fits well
Definitely fitted our machine a save me from having to buy a new vacuum.
B**K
Easy job to replace, just follow a you tube video on how to do it. The new hose replace the fifteen year old hose which the end securing tab attachment goes brittle and the chemical nozzle part swollen which makes the head attachment difficult. It brings new life to my 15 year old machine.
K**E
Replacement part perfect for bissell green machine
J**N
Le qu do perfecto a mi equipo
J**O
Fitted easily
N**T
The hose was a perfect match for the product I had. Being an older woman with not a lot of repair knowledge under my belt, I hesitated to try this, but jumped in both feet. Everything went well until I tried to remove the clasp that held the inside hose on the spigot. It was VERY FIRMLY attached and would only rotate around the spigot without releasing. Finally lost patience and just ripped it off and replaced it with a small plastic multipurpose tie. Put everything back together and it works like a charm. All those little cleaning jobs I had put off doing are now done.
Trustpilot
4 days ago
1 month ago